
Using a paint sprayer can save you time and effort, but it’s easy to make mistakes that can ruin your project. From improper setup to poor technique, these missteps can lead to frustrating results. In this guide, we’ll highlight nine common pitfalls to avoid, so you can achieve a smooth finish without any headaches.
Overlooking Sprayer Maintenance
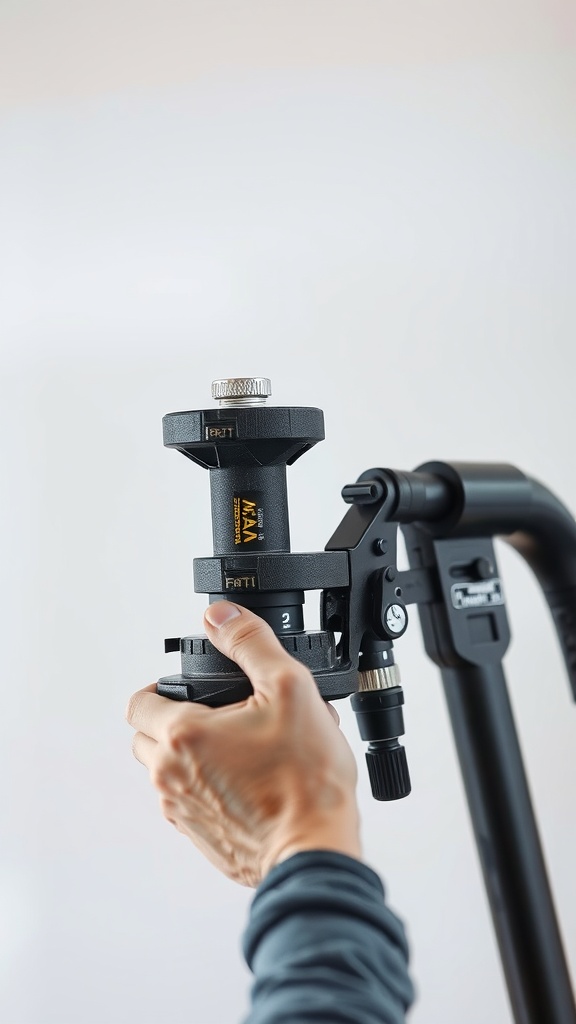
When it comes to using a paint sprayer, maintenance should never be an afterthought. Neglecting this aspect can lead to a series of paint sprayer mistakes you don’t want to make. Just look at the image above. It shows a person adjusting a component of their sprayer, which is a crucial part of routine upkeep.
Regular maintenance helps ensure that your sprayer operates smoothly and efficiently. If you overlook cleaning and checking the parts, you risk clogging, uneven spray patterns, and potentially damaging your equipment. Don’t forget, a little care goes a long way in extending the life of your sprayer.
Make it a habit to inspect your sprayer after each use. This means checking for any leftover paint, cleaning the nozzle, and making sure all parts are in working order. In doing so, you’ll avoid headaches down the road and keep your projects on track.
Ignoring Surface Preparation
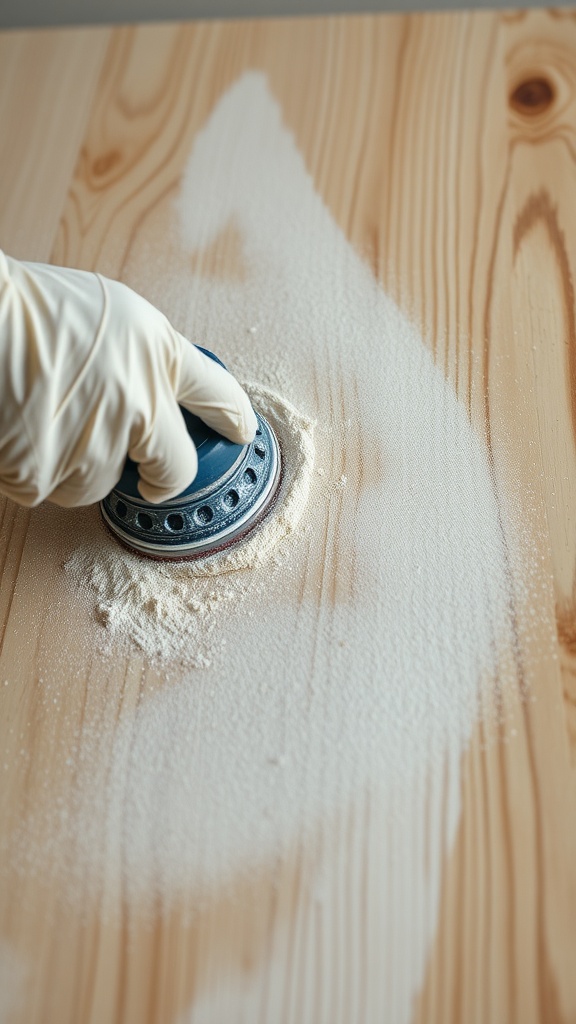
One of the biggest paint sprayer mistakes you don’t want to make is skipping surface preparation. The image here shows a hand sanding a wooden surface, which is a crucial step before any painting project.
Proper surface preparation ensures that the paint adheres well and creates a smooth finish. If the surface is rough, dirty, or uneven, the results will likely be disappointing.
Take the time to clean and sand your surfaces. This process removes old paint, dirt, and any imperfections. You’ll be glad you did when you see how much better the paint looks.
Ignoring this step can lead to peeling, bubbling, or an uneven coat. So, grab your sandpaper and start prepping!
Neglecting Proper Masking Techniques

When it comes to using a paint sprayer, one big mistake people often make is neglecting proper masking techniques. The image above shows a corner of a room where masking could have been better executed. You can see unmasked areas and a floor that’s not adequately protected. These oversights can lead to a messy job and extra cleanup later.
Before you start spraying paint, take the time to cover any areas you don’t want to paint. Use painter’s tape around edges, outlets, and trim. Drop cloths or old sheets can catch any stray paint on the floor. Skipping these steps can result in frustrating touch-ups and wasted time.
Remember, one of the biggest paint sprayer mistakes you don’t want to make is thinking you can just spray freely without worrying about overspray. It’s all about preparation. A little extra effort at this stage will save you hassle down the line and lead to a cleaner, more professional-looking finish.
Choosing the Wrong Paint Type

Picking the right paint is crucial for a successful project, especially when using a paint sprayer. In the image, we see various paint cans stacked together, showcasing the diversity in paint types available. Each can represents different finishes, colors, and purposes, reinforcing the idea that not all paints are suitable for every job.
One common mistake people make is using interior paint for exterior projects or vice versa. Exterior paints are designed to withstand weather conditions, while interior paints might not hold up as well outdoors. Similarly, some paints may be more suitable for certain surfaces than others.
Another aspect to consider is the finish. Glossy paints can produce a lovely sheen but may require more preparation and cleaning. Meanwhile, matte finishes can be more forgiving but might not hold up to wear and tear as well. Understanding these differences is key to avoiding paint sprayer mistakes you don’t want to make.
Additionally, always check the compatibility of the paint with your sprayer. Some paints are too thick or not designed for spraying, which can lead to clogs and uneven application. Take the time to read labels and guidelines to ensure you’re making the right choice.
Using Incorrect Spraying Distance
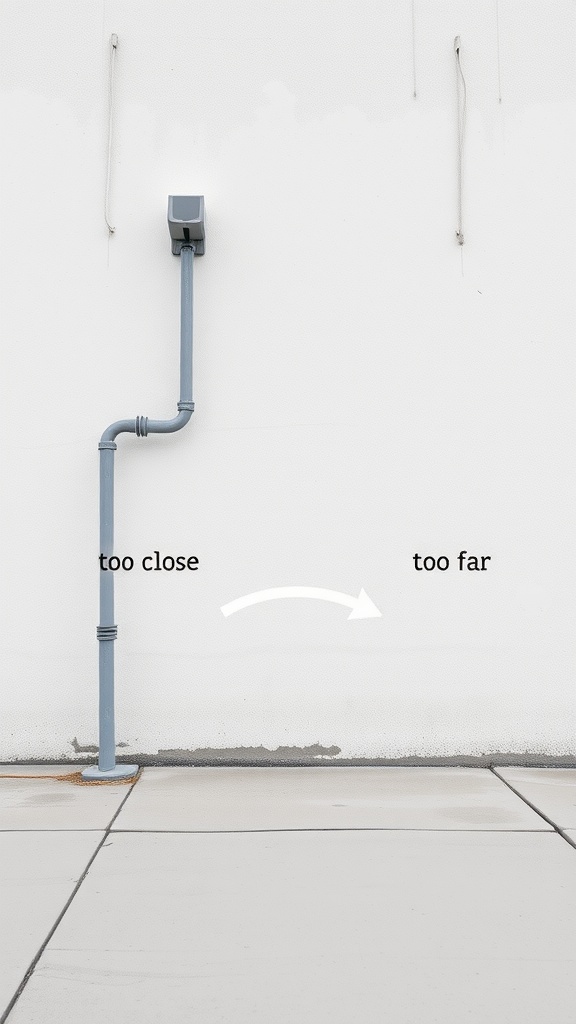
When using a paint sprayer, one common mistake is misunderstanding the proper spraying distance. The image illustrates the two extremes: being too close and too far from the surface you’re painting. Each position brings its own set of challenges that can ruin your project.
If you’re too close, the paint may not atomize correctly, leading to drips and uneven coverage. This can create a messy finish and may require additional coats to fix. On the other hand, standing too far away can result in overspray. The paint may not reach the surface effectively, meaning you’ll end up with light patches that lack color.
To avoid these paint sprayer mistakes you don’t want to make, aim for a distance that allows the paint to distribute evenly. Generally, you should find a balance that feels comfortable and effective for the type of sprayer you’re using. A good rule of thumb is to keep a distance of about 6 to 12 inches from the surface.
Getting this distance right will make your painting experience smoother and more enjoyable. Remember to test on a scrap piece or an inconspicuous area before diving into your main project. Happy painting!
Spraying in Adverse Weather Conditions
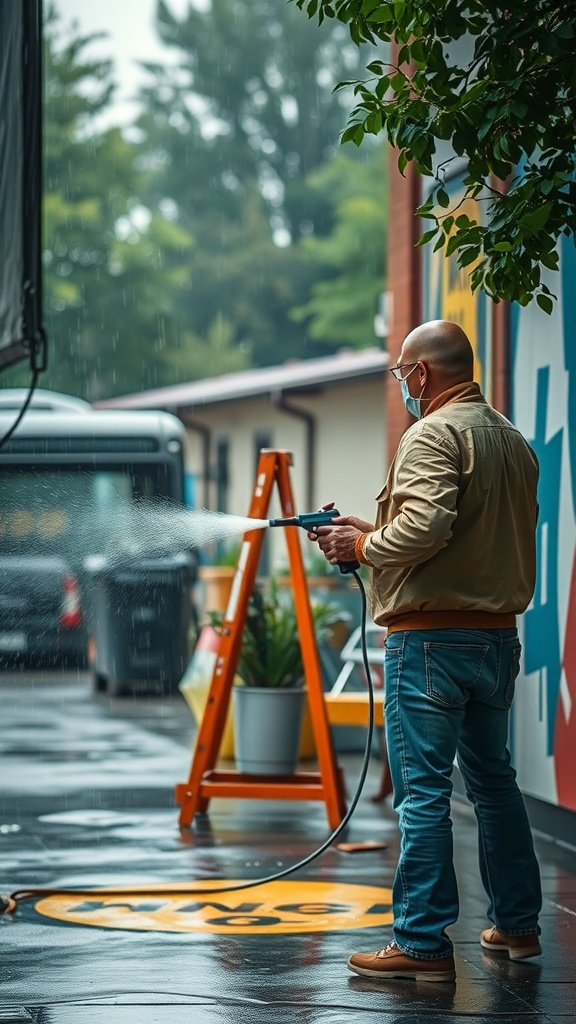
When you’re ready to start a paint project, the last thing you want is to face unexpected weather challenges. The image here shows a person in a red hoodie spraying paint while it’s raining. This scene highlights one of the key paint sprayer mistakes you don’t want to make — working in less-than-ideal weather conditions.
Spraying paint in rain or strong winds can lead to uneven coverage and unwanted drips. The moisture in the air can cause the paint to dry too slowly, resulting in a finish that may not adhere well. Plus, if it’s windy, your carefully aimed spray can easily blow off target, making your work harder than it needs to be.
Before you grab that sprayer, check the forecast. Ideally, you want to work on a dry day with mild temperatures. If rain is expected, it’s best to postpone. Your project will turn out better, and you will save yourself from the headache of repairing mistakes caused by adverse weather.
Forgetting to Test the Sprayer
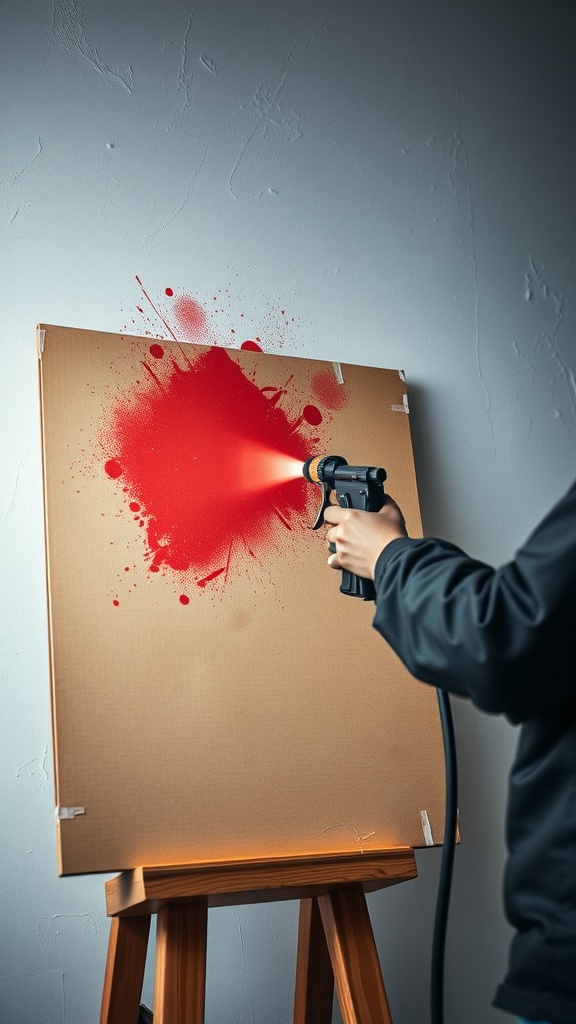
When you see someone using a paint sprayer, it might look easy and straightforward. But one of the biggest paint sprayer mistakes you don’t want to make is skipping the test run. Imagine grabbing your sprayer, filling it up with paint, and diving straight into your project without checking if everything works well. The image shows a person testing a sprayer on a cardboard backdrop, and this is an essential step. It helps to prevent messy results and wasted paint. Testing allows you to adjust the settings, find the right distance, and see how the paint flows. You’ll save yourself a lot of hassle by taking this small but crucial step. So, before you start spraying your walls, take a moment to practice and get comfortable with your tool. It could be the difference between a smooth finish and a frustrating experience.
Failing to Follow Safety Precautions

One common slip-up in the world of paint spraying is overlooking safety measures. As seen in the image, using a paint sprayer requires protective gear. This individual is equipped with a helmet and gloves, which are essential for avoiding inhaling harmful fumes and protecting the skin from irritation.
Ignoring safety protocols can lead to serious health risks. Paints often contain volatile organic compounds (VOCs) that can be harmful. A reputable respirator is as critical as the sprayer itself. Make sure you have proper ventilation in your workspace to dissipate any toxic particles.
Another aspect to consider is the environment you’re working in. The presence of flammable materials can pose a significant danger. Always clear your area of any substances that could ignite. These simple precautions can help you steer clear of the paint sprayer mistakes you don’t want to make, ensuring a safer and more enjoyable painting experience.
Skipping the Primer Coat
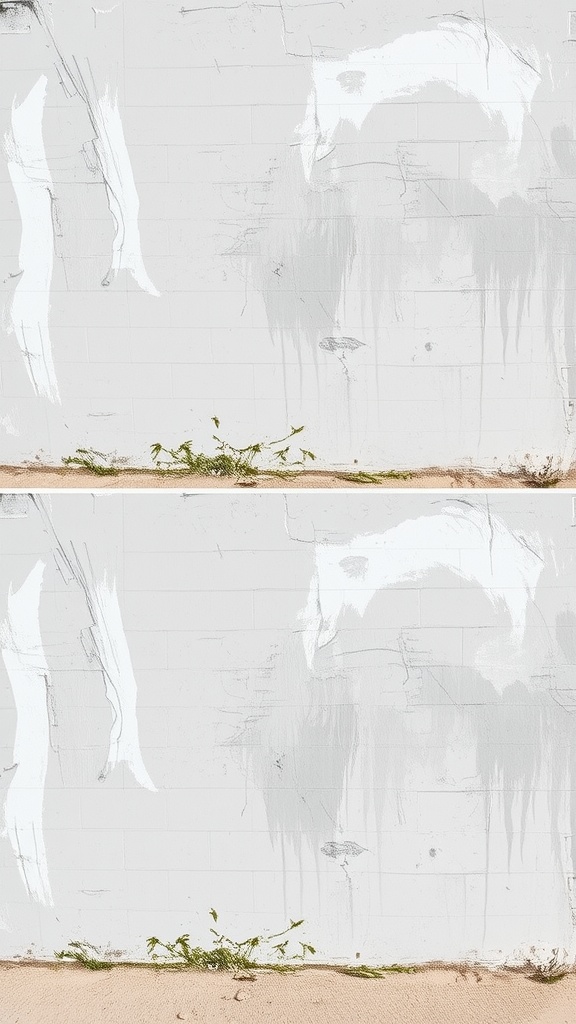
Have you ever seen a wall that’s been painted without a primer? It often ends up looking uneven, like the image above. The top part shows streaks and patches, while the bottom is more consistent and smooth. This difference highlights an important lesson: always use a primer.
Primer acts as a base layer, helping paint adhere better and providing a uniform surface. Skipping this step is one of those paint sprayer mistakes you don’t want to make. Without it, you might notice uneven color and texture, and your hard work could go to waste.
In addition, primer can help block stains and prevent them from bleeding through. Imagine putting in all that effort only to see old marks show through your fresh paint! Using primer not only saves you time but also ensures your paint job lasts longer.
Next time you’re gearing up to spray, don’t forget that primer. It’s a small step that makes a big difference!