
Painting cabinets can totally refresh your space, but it’s easy to run into some common pitfalls along the way. In this guide, we’ll highlight the seven mistakes that can trip you up and share some handy DIY tips to help you achieve a smooth and successful cabinet makeover. Get ready to transform your cabinets with confidence!
Using Inadequate Brushes or Rollers
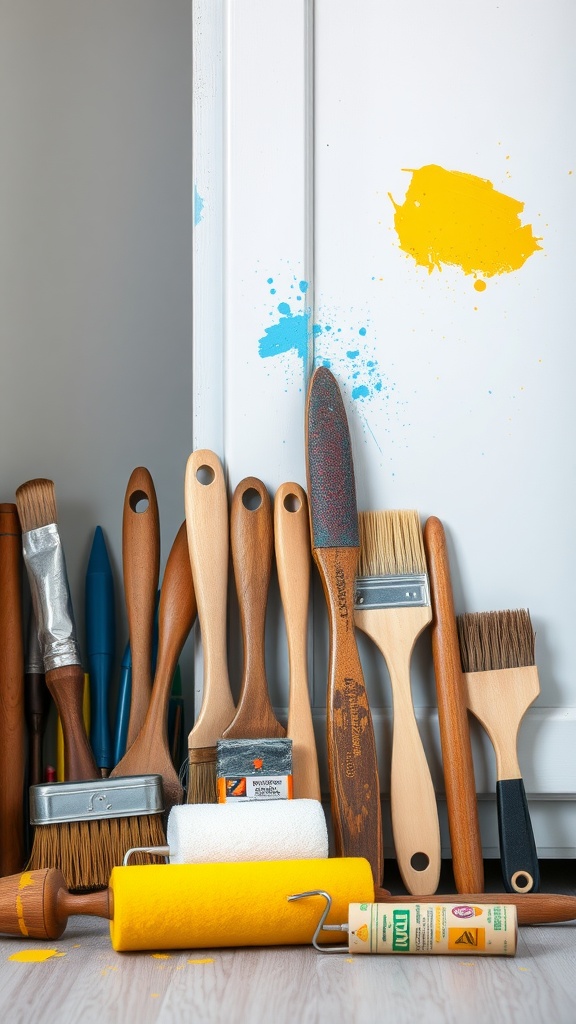
When tackling a cabinet painting project, one of the common mistakes to avoid is using inadequate brushes or rollers. The image shows a variety of painting tools, highlighting the importance of choosing the right ones for the job.
Using the wrong brush can lead to uneven paint application, resulting in a less-than-pleasing finish. A brush with stiff bristles might leave streaks, while a roller that is too large can make it hard to reach tight corners. Each tool serves a specific purpose, and knowing which to use can make all the difference.
It’s also essential to consider the type of paint you’re using. Some brushes work better with oil-based paints, while others are suited for water-based options. Take a moment to match your tools with your materials to achieve a smooth and consistent look.
Don’t forget to clean your brushes and rollers properly after each use. This ensures they remain in good condition for future projects. Investing in quality tools can save you time and frustration down the line.
Ignoring Drying Times Between Coats
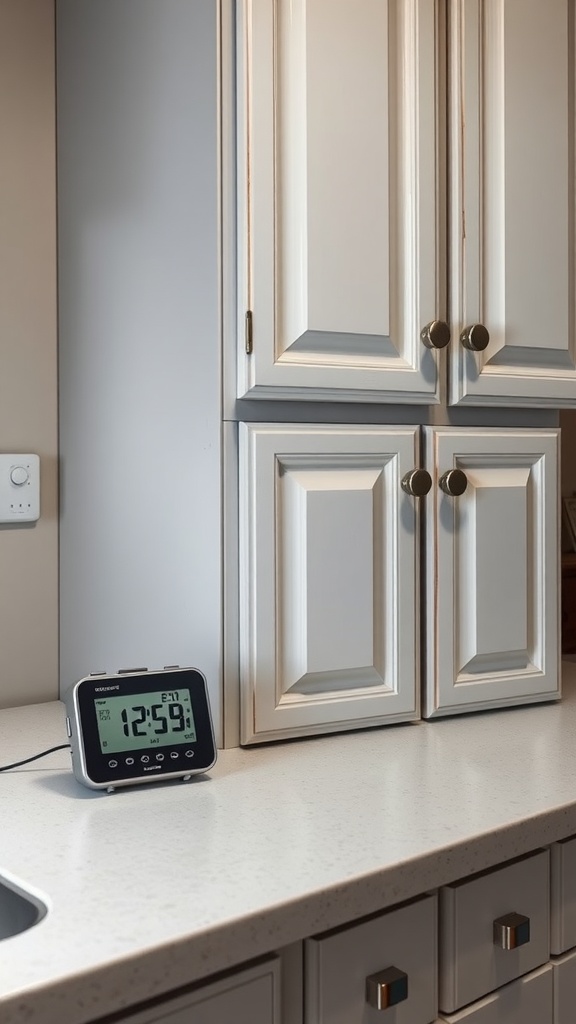
When it comes to painting cabinets, one of the biggest mistakes to avoid is skipping the drying times between coats. As seen in the image, which features freshly painted cabinet doors and a timer, patience really pays off. Each layer needs sufficient time to dry to ensure a smooth finish.
Rushing between coats can lead to smudging and uneven textures. That’s why having a timer, like the one shown, can be a helpful reminder to wait the recommended time before applying the next coat. This simple tool can save you from potential headaches later on.
Make sure to read the paint manufacturer’s instructions regarding drying times. Depending on the type of paint you use, this could range from one hour to several hours. Waiting might feel tedious, but it’s crucial for achieving a durable surface that stands up to wear and tear.
In summary, while it might be tempting to dive right into the next coat, taking the time to let the previous layer dry is key. Trust us; your cabinets will thank you!
Skipping Primer Application
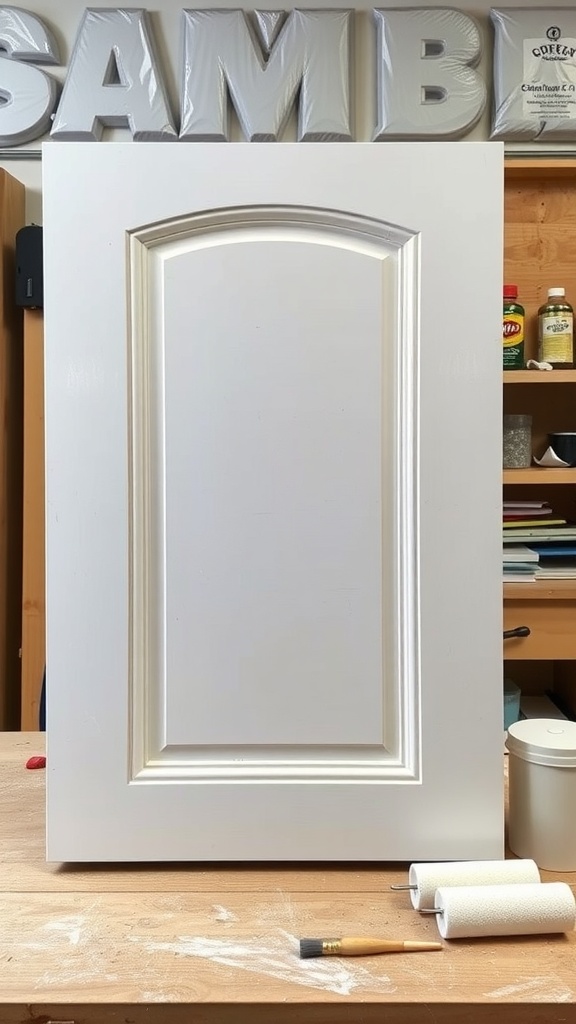
One common mistake to avoid when painting cabinets is skipping the primer. In the image, you see a freshly painted cabinet door, but without the right foundation, this finish might not hold up over time. Primer plays a crucial role in ensuring that the paint adheres properly and provides a uniform surface.
Choosing not to prime can lead to several issues. For instance, the color may not show as vibrant, or you might end up with peeling paint. The cabinet door in the image looks appealing, but imagine the disappointment of seeing it degrade quickly because it lacked that essential first layer.
When tackling your cabinet painting project, take the time to properly apply primer. It helps to block stains and ensures that the final coat looks smooth and even. This step may feel tedious, but it makes a significant difference in the longevity of your work. Remember, skipping primer is one of the key mistakes to avoid when painting cabinets!
Choosing the Wrong Paint Type
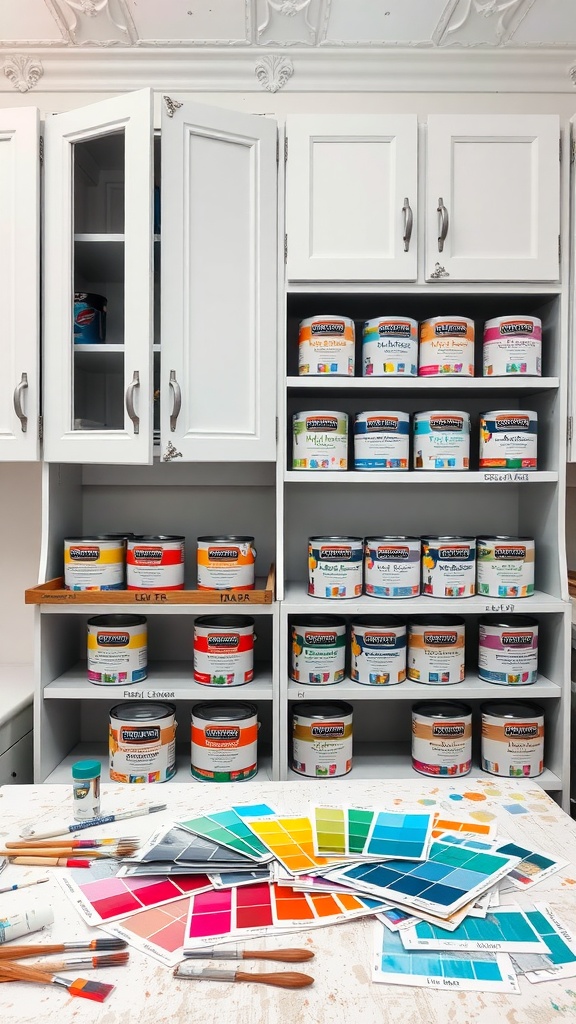
One of the biggest mistakes to avoid when painting cabinets is choosing the wrong paint type. It’s easy to get lost in the variety of options out there, but not all paints are created equal. The image above showcases a well-organized selection of paint cans, each with different finishes and colors. This is a reminder of how crucial it is to choose wisely.
For cabinets, you’ll want to look for paints that are durable and easy to clean. A water-based acrylic or a latex paint is often a good choice. These types dry quickly and resist fading, which is key for kitchen cabinets that face daily wear and tear.
In the photo, you can see various paint samples and swatches laid out on the table. It’s a great practice to test a few colors on your cabinets first. This way, you can see how they look in different lighting throughout the day. Don’t rush this part; it’ll save you from potential headaches later.
Another point to consider is the finish. A satin or semi-gloss finish is popular for cabinets because it provides a nice sheen and is easier to wipe clean. Remember, the right paint not only enhances the look but also extends the life of your cabinets.
Neglecting Proper Surface Preparation
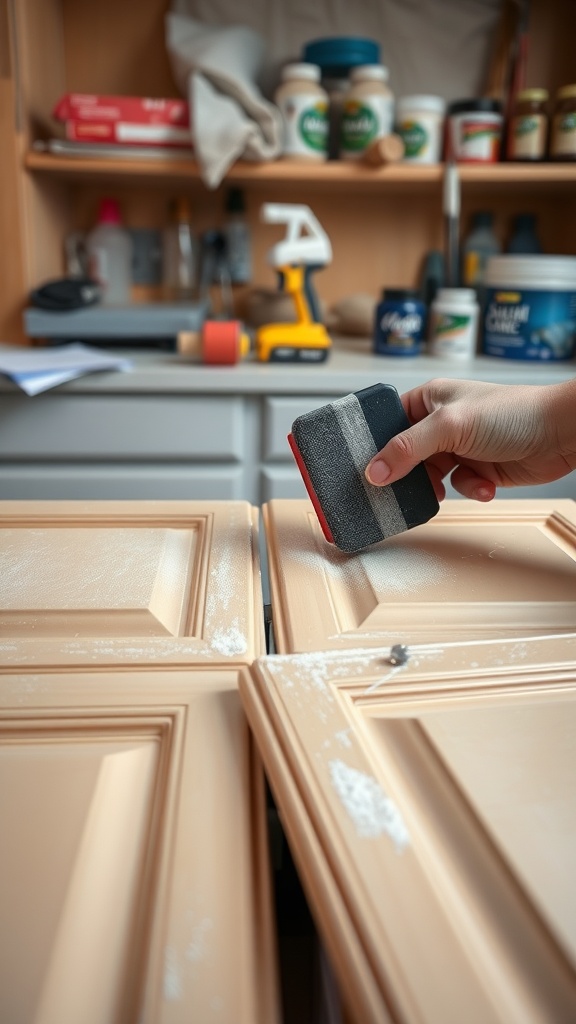
When it comes to painting cabinets, many people overlook one crucial step: proper surface preparation. The image captures an essential moment in the process—sanding the cabinet doors to ensure a smooth finish. It’s easy to think you can skip this step, but that can lead to mistakes you’ll want to avoid when painting cabinets.
Before you even think about adding color to those cabinets, take a moment to look at the surfaces you’re working with. Any dust, grease, or old paint can mess with your new paint job. In the photo, you can see dust particles on the cabinets, illustrating the importance of sanding and cleaning. Make sure to wipe them down thoroughly after sanding.
Skipping this step can result in uneven surfaces and poor adhesion, leading to peeling or chipping down the line. So, grab your sandpaper and give those surfaces the attention they need. Trust us, investing a little time now can save you a lot of headaches later!
Overlooking the Importance of Ventilation
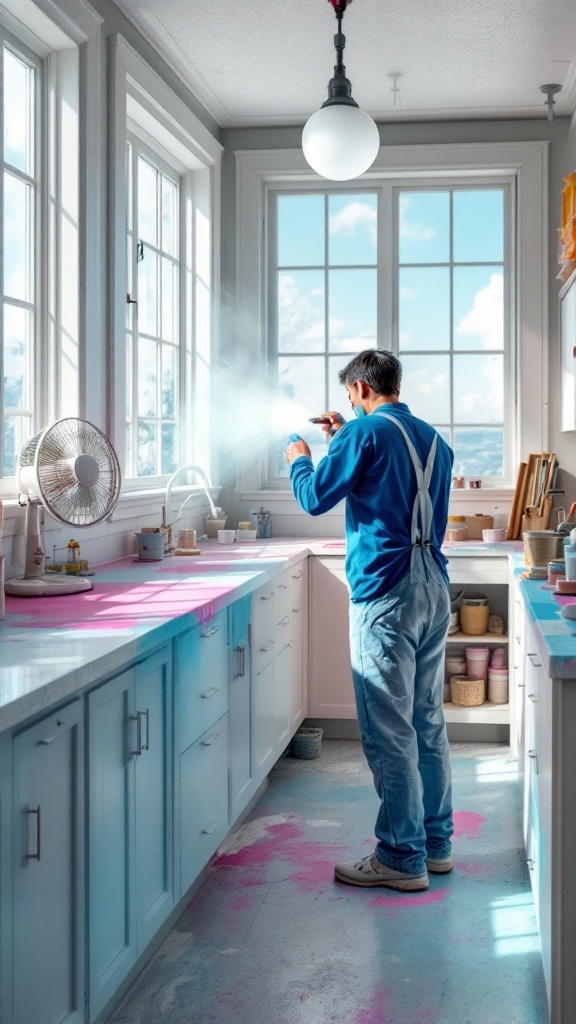
When diving into DIY projects like painting cabinets, one common pitfall is neglecting ventilation. You can see in the image how important it is to create a breathable space for your work. The open window allows fresh air to flow in, while the fan circulates it around the room.
Good ventilation helps reduce the fumes from paint, which can be quite strong and irritating. If you’re painting indoors without proper airflow, you might end up feeling lightheaded or even nauseous. Ensuring that your workspace is well-ventilated is essential; it’s one of those mistakes to avoid when painting cabinets.
Additionally, ventilation aids in drying the paint more evenly and quickly. The air movement will help prevent issues like sticky spots or uneven finishes. So, make sure to have windows open or fans running to keep the air fresh and your project on track!
Failing to Consider the Final Finish
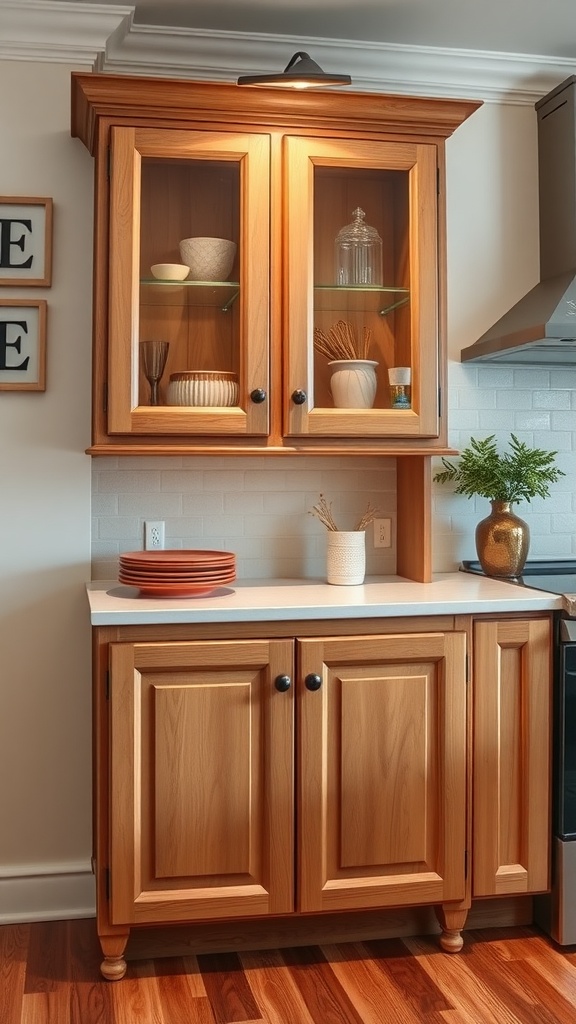
When you’re diving into the world of cabinet painting, the finish you choose plays a big role in how your cabinets will look and feel. The image above shows a beautifully finished cabinet with a natural wood look, which highlights the importance of considering your final finish.
One common mistake to avoid when painting cabinets is not thinking about how the finish will complement your kitchen’s overall design. A glossy finish can add modern flair, while a matte finish might lend a more rustic or cozy vibe. It’s essential to think about what atmosphere you want to create.
Another point to consider is durability. Some finishes are more resistant to stains and scratches than others. If your cabinets are in a high-traffic area, opting for a more resilient finish can save you time and effort in the long run.
Lastly, don’t forget about maintenance. Some finishes require more upkeep than others. Choose a finish that fits your lifestyle and allows you to enjoy your beautifully painted cabinets without constant worry.