
Using a paint sprayer can totally transform your painting projects, but getting started can feel a bit overwhelming. This guide offers ten practical tips to help beginners navigate their way through using a paint sprayer effectively, ensuring you achieve smooth and even results without the hassle. Whether you’re tackling a small DIY project or a bigger task, these straightforward tips will have you spraying like a pro in no time.
Practicing on Scrap Material
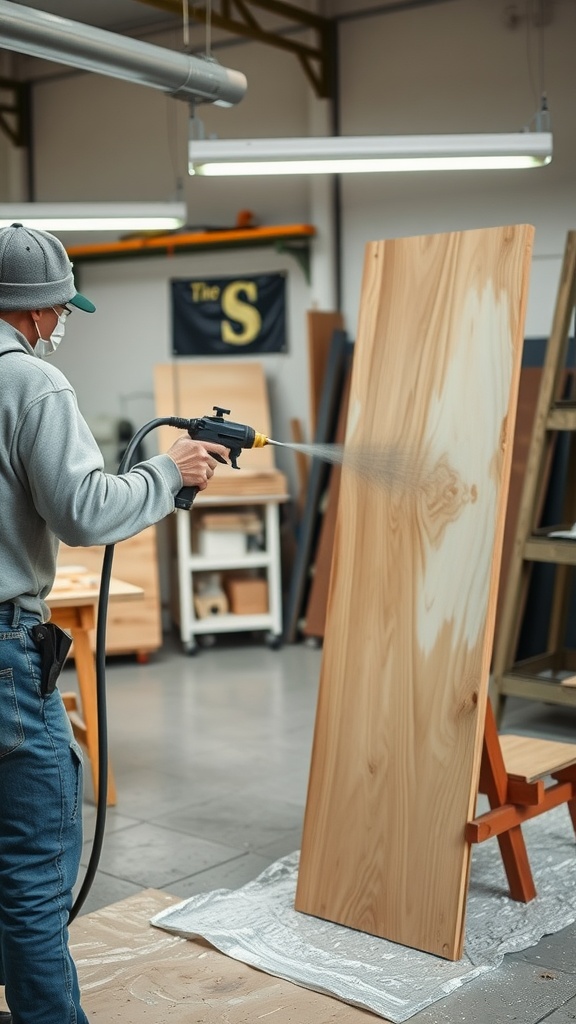
One of the best beginner tips to using a paint sprayer is to practice on scrap material. This approach helps you get a feel for the sprayer before tackling your main project. In the image, we see someone confidently spraying paint onto a piece of wood. This is a perfect example of how you can use leftover wood or any other scrap material to experiment.
When you practice, pay attention to how the paint flows and how far away you should hold the sprayer. It’s all about finding that sweet spot. You can adjust the distance based on how wide or narrow you want the paint spray to be. This technique is crucial because it helps you avoid mistakes when it’s time to work on your actual item.
Make sure to cover your workspace with a drop cloth or old newspaper, just like in the photo. This prevents overspray from making a mess. You’ll also want to wear a mask, especially if you’re using spray paints, to protect your lungs. Practicing on scrap material not only builds your confidence but also improves your skills, making your projects smoother and more enjoyable.
Maintaining Your Paint Sprayer After Use
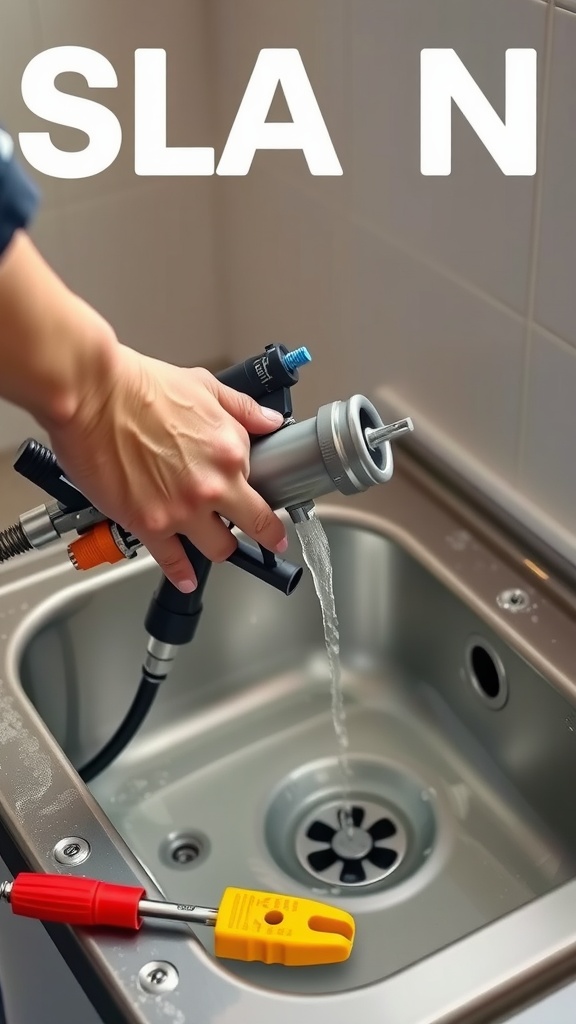
After a painting project, cleaning your paint sprayer is crucial for keeping it in good shape. The image shows a person rinsing the sprayer in a sink, a vital step in the maintenance process. This not only ensures the tool’s longevity but also prepares it for the next job.
Start by fully emptying any remaining paint from the sprayer. Next, rinse it with water or the recommended cleaner. As seen in the image, directing the paint flow into a drain helps manage the mess. Remember, keeping the sprayer clean prevents clogs and ensures consistent spray patterns for future use.
Don’t forget to disassemble the sprayer as per the manufacturer’s instructions. This makes it easier to clean all parts thoroughly. Look out for any leftover paint in hard-to-reach areas. Following these beginner tips to using a paint sprayer will save you time and headaches down the road.
Choosing the Right Paint Sprayer for Your Project
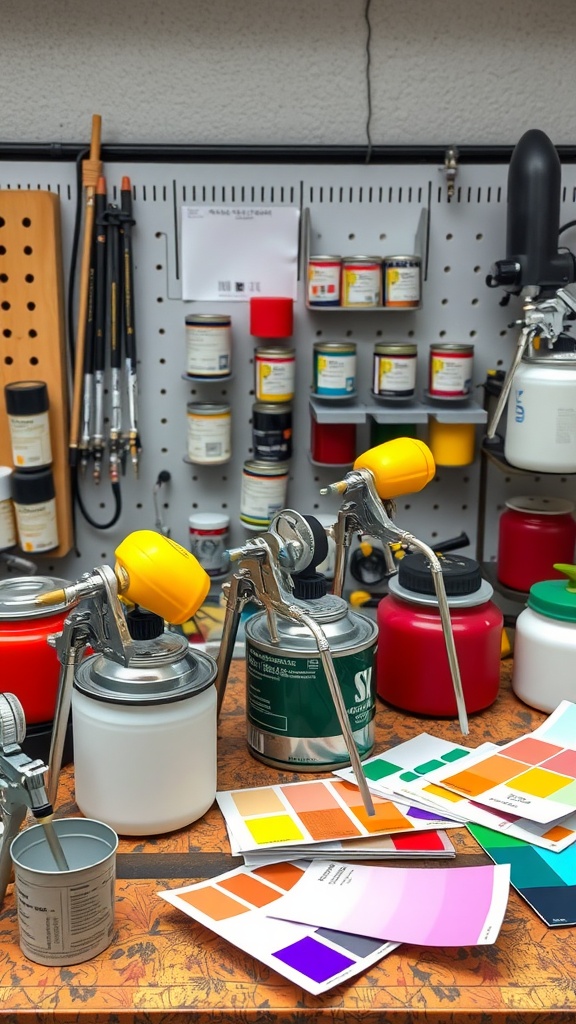
When it comes to selecting a paint sprayer, having the right tools at hand can make a big difference. The image shows a workspace filled with various paint sprayers, color swatches, and paint containers. This setup is a great reminder of the choices available and the joy of experimenting with colors.
First, think about the type of project you’re tackling. Are you painting furniture, a fence, or the interior of your home? Each project may require a different sprayer. There are airless sprayers for large surfaces and HVLP (High Volume Low Pressure) sprayers for detailed work. Understanding these options is one of the key Beginner Tips to Using a Paint Sprayer.
Next, consider the viscosity of the paint you’ll be using. Spray guns can handle thicker paints, but you might need to thin them down first. The images of paint containers suggest a variety of options, so take time to choose the right type for your sprayer.
Look at the features of each sprayer as well. Some may offer adjustable nozzles for different spray patterns. The tools and color samples around the sprayers indicate the importance of experimentation. Don’t hesitate to try different settings to see what works best for your project.
Lastly, always read the user manual. Each paint sprayer comes with specific guidelines, which can help you operate it safely and effectively. Keep these tips in mind as you explore your options!
Mastering the Technique of Spraying Paint Evenly
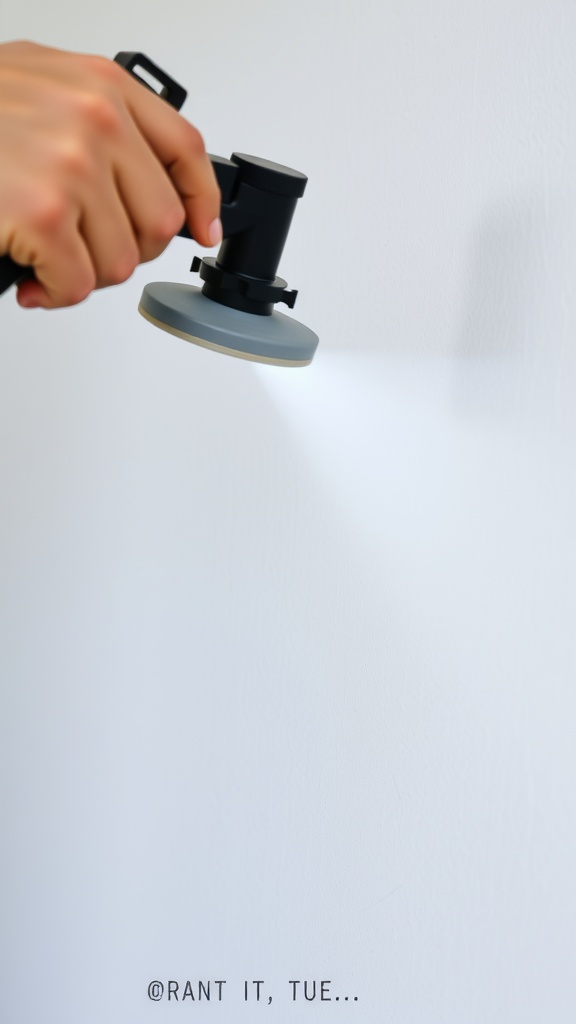
Using a paint sprayer can be super helpful for achieving that smooth finish you’re after. In the image, you see a hand gripping a paint sprayer, ready to apply paint to a blank wall. This moment captures the essence of getting started with your painting project.
To master the technique of spraying paint evenly, you’ll want to keep your wrist relaxed. This helps in maintaining a steady motion. Aim to move the sprayer in a consistent, sweeping action. Think of it like painting with a long brush but with the added benefit of speed.
Another handy tip from the ‘Beginner Tips to Using a Paint Sprayer’ is to practice on a scrap piece of material first. This will give you a feel for how the paint flows and how your movements impact the finish.
Also, keep your distance from the surface. A common mistake is getting too close, which can lead to drips and uneven coverage. Aim for about 12 to 18 inches away for the best results.
Don’t forget to overlap your strokes slightly. This ensures you cover the area thoroughly and helps avoid those pesky streaks. With these simple techniques, you’ll be well on your way to sprucing up your space like a pro!
Adjusting the Spray Pattern for Different Surfaces
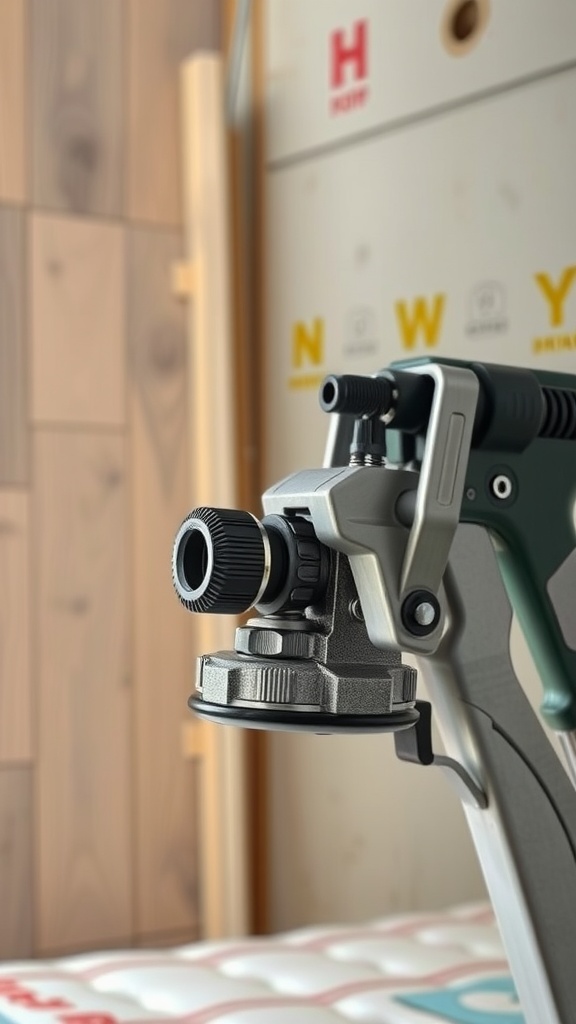
When you’re diving into the world of paint sprayers, adjusting the spray pattern is key. This image shows a close-up of a paint sprayer, highlighting the nozzle and the settings you can tweak. A clear understanding of these settings can make a big difference in your project.
Different surfaces require different approaches. For instance, a flat wall might need a wider spray pattern for even coverage, while intricate furniture details benefit from a more focused spray. Adjusting the nozzle is simple, and it allows you to customize your spray for what you’re working on.
As you experiment, keep in mind that lighter materials like drywall can absorb paint quickly. You might find that a thinner coat works better. Meanwhile, more textured surfaces may need a bit more paint to fill in the gaps. These beginner tips to using a paint sprayer can guide you in finding the right balance.
Safety Precautions When Using a Paint Sprayer
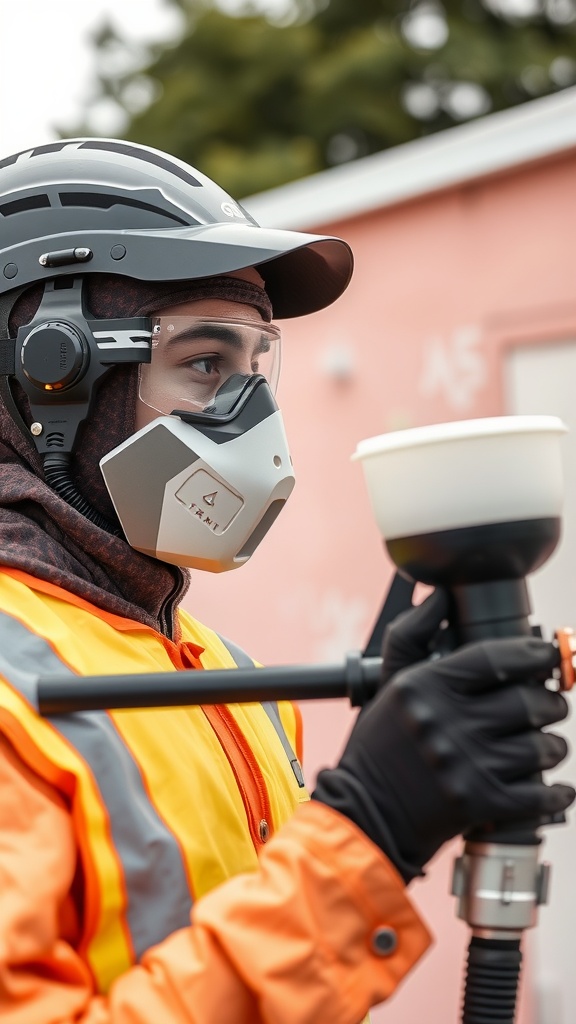
Using a paint sprayer can be a fun way to tackle your DIY projects, but safety should always come first. The image here captures a person in protective gear, fully prepared to spray paint. Notice the helmet, mask, and goggles? They’re not just for show; they’re essential for keeping you safe while you work.
First off, always wear a mask or respirator. Paint fumes can be harmful, and protecting your lungs is crucial. The person in the image takes this step seriously, ensuring they’re safeguarded from inhaling any potentially toxic substances. It’s one of the key beginner tips to using a paint sprayer that you shouldn’t overlook.
Eye protection is another must. The goggles worn in the image help shield against any overspray or particulates. You never know how paint can bounce back, so safeguarding your vision is vital. Make sure to invest in a good pair of safety glasses or goggles.
Additionally, wearing gloves is smart. The gloves in the image show that the user is prepared to handle the sprayer and paint without risking skin contact. Paint can irritate skin, so keep those hands protected while you work.
Lastly, consider your surroundings. The area should be well-ventilated to disperse any fumes. If possible, work outdoors or in a space with adequate airflow. Following these safety tips, just like the person in the image, will help ensure your painting experience is enjoyable and safe!
Preparing Your Workspace for Spraying
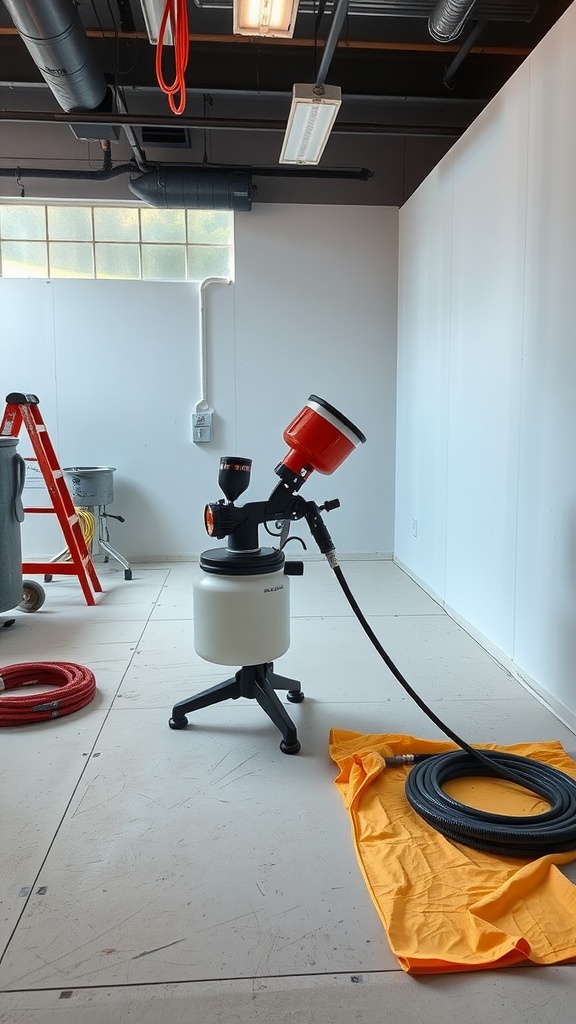
Before you start using your paint sprayer, it’s important to set up your workspace properly. The image shows a clean area with a paint sprayer ready to go, which is a great example of how to prepare. A tidy space helps you focus on the task and reduces the risk of accidents.
First, clear the area of any clutter. Remove unnecessary items that could get in your way or become contaminated with paint. A ladder and some hoses are visible in the image, indicating that this area is organized yet functional.
Next, protect your floors and surrounding surfaces. The orange tarp under the sprayer is a smart move to catch any overspray. Using drop cloths or tarps can save you a lot of cleanup time later.
Ensure you have ample lighting, as proper visibility is key for good results. The overhead lights in the image show that the workspace is well lit. Good lighting allows you to see fine details and ensures a more even application of paint.
Having all your materials close at hand can also save you time. In the image, the paint sprayer is set up with its hose ready to go. Keep your paint, tools, and safety gear within reach, so you don’t have to interrupt your workflow.
Finally, check your ventilation. If you’re indoors, make sure windows are open or use fans to circulate air. Proper airflow helps reduce fumes and keeps your work area safe. Following these beginner tips to using a paint sprayer will make your project smoother and more enjoyable.
Understanding Different Paint Types
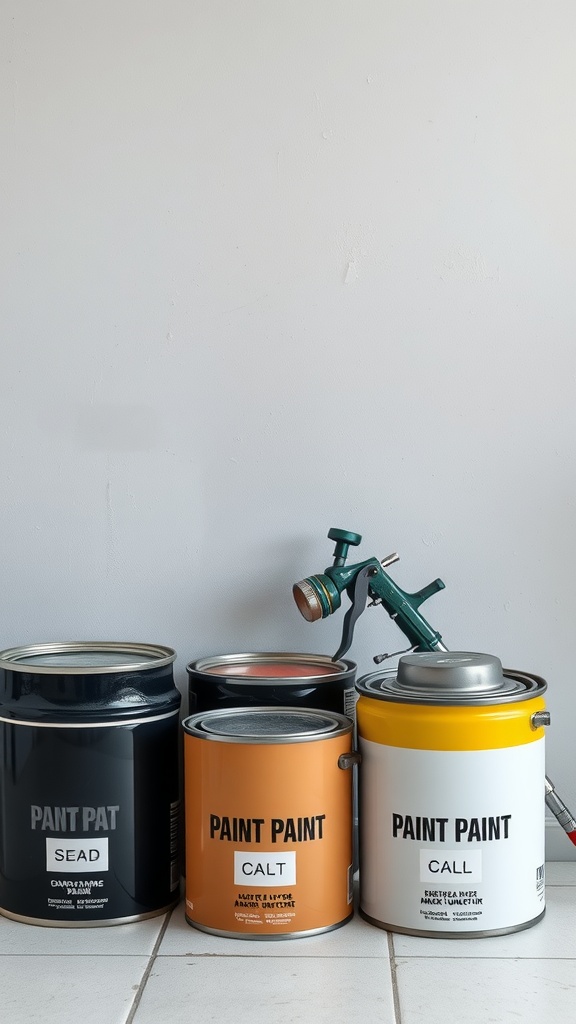
When using a paint sprayer, knowing the right paint type can make a big difference in your project. The image shows a variety of paint cans lined up with a sprayer next to them. Each can likely contains a different type of paint, which can impact how smoothly it applies and how well it adheres to surfaces.
First off, let’s talk about water-based paints. These are easy to clean up and dry quickly. They’re great for indoor projects and work well with paint sprayers. Just remember to thin them according to the sprayer’s instructions for the best results.
Next, we have oil-based paints. These tend to be more durable and provide a smooth finish, making them ideal for outdoor use. However, they take longer to dry and require solvents for cleanup. Always check if your sprayer is compatible with oil-based products before use.
Lastly, don’t forget specialty paints like primers or stains. Primers help with adhesion, and stains can enhance the natural beauty of wood. Using these can be key in achieving the look you want. Always refer to your paint sprayer manual for guidance on which types of paint are suitable.
Understanding these basics is part of the Beginner Tips to Using a Paint Sprayer. Choosing the correct paint type not only saves time but also ensures a successful finish.
Troubleshooting Common Spraying Issues
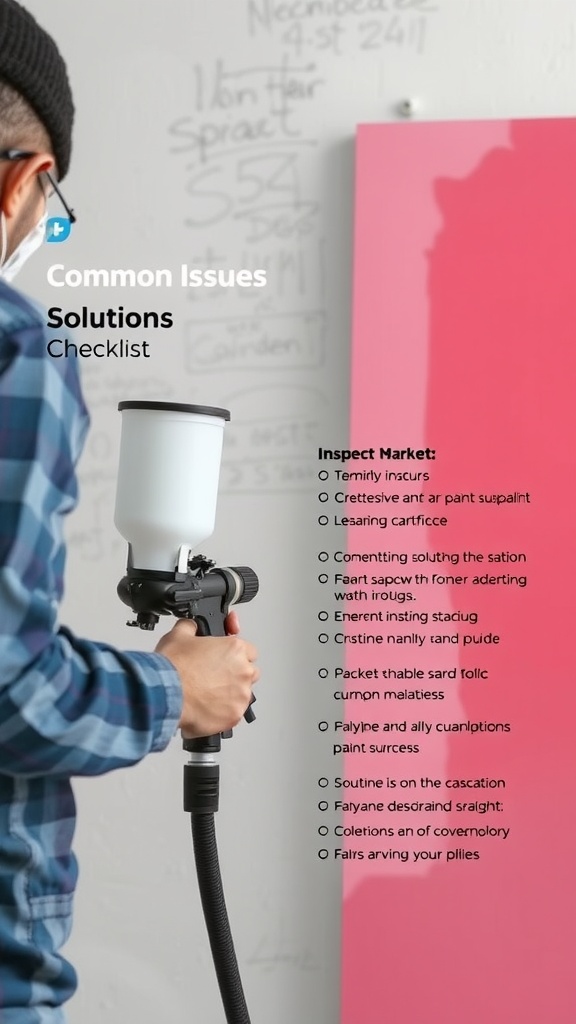
When using a paint sprayer, beginners might face several issues that can be frustrating. The image above highlights some common problems and provides a checklist to help you troubleshoot effectively. Understanding these challenges is key to mastering the art of spraying.
One common problem is uneven spraying. This can occur if the nozzle is clogged. To fix this, ensure you regularly clean your sprayer as per the manufacturer’s instructions. Another issue could be paint leaking from the sprayer. This often happens due to a loose connection. Tighten any fittings and check for worn-out parts.
If you’re experiencing paint not flowing properly, it might be a sign that the paint is too thick. Diluting it slightly can often help with smooth application. Make sure to mix your paint well before using it.
Finally, if you’re getting a spray pattern that’s too wide or narrow, you may need to adjust the spray width setting on your sprayer. It might take a bit of trial and error, but you’ll find the right balance. These beginner tips to using a paint sprayer are designed to make your experience smoother and more enjoyable.
Finishing Techniques After Spraying
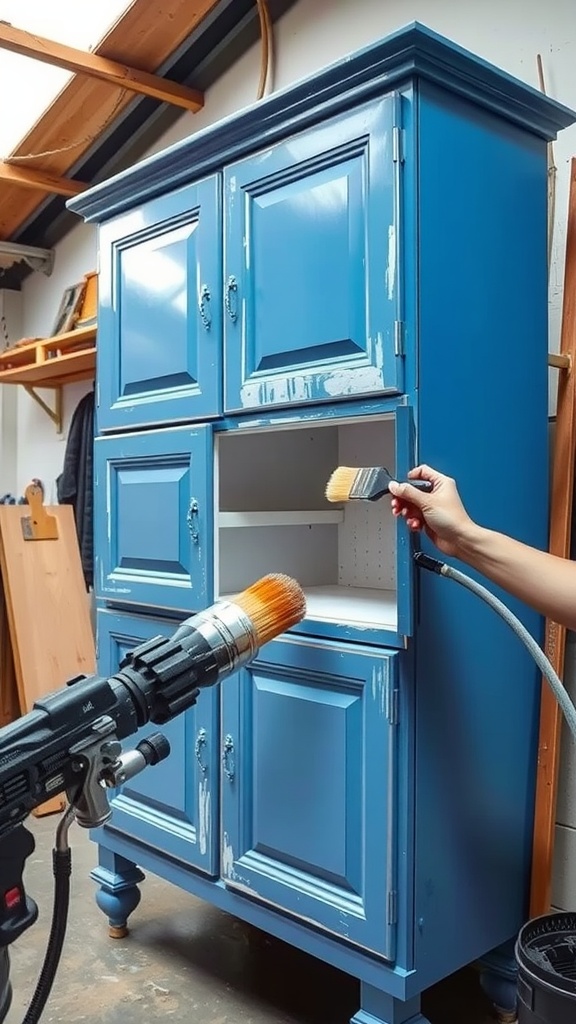
After using a paint sprayer, it’s time to focus on finishing techniques that can elevate your project. In the image, we see a beautifully painted cabinet with a vibrant blue hue. The process involves both the sprayer and a brush to achieve a cohesive look.
First, inspect your work. Look for any missed spots or uneven areas. A quick touch-up with a brush can help blend these imperfections. This is especially important in corners and edges where the sprayer might not reach effectively.
Next, consider a clear coat. It adds durability to your finish and can give it a nice shine. Apply it once the paint is fully dry. A spray-on clear coat can be a good option for a smooth application, while a brush-on variant allows for more control.
Lastly, always clean your tools right after use. This keeps them in good shape for your next project and saves you time and effort later. Following these finishing techniques will help wrap up your painting process beautifully.